Intergration Reporting Service with SharePoint 2010
Hello, nice day to all. Today I happy to share with you the way to integrate Reporting Service with SharePoint Foundation 2010. First at all we look how Reporting Service on SharePoint 2010

To integrate Reporting Service with SharePoint Foundation 2010 we need three works: Setup SQL Server 2008 R2 with "Reporting Service Integrated SharePoint Mode", configure SharePoint (Farm) with Reporting Service, and making report so can be run on SharePoint 2010.
A. Setup SQL Server 2008 R2 with "Reporting Service Integrated SharePoint Mode"
A.1. Click on "New installation or add features to an existing installation."

A.2. Enter the product key

A.3. Choose SQL Server Features Installation

A.4. Select all features

A.5. Instance Configuration

A.6. Server Configuration : click "Use the same account for all SQL Server services"

A.7. Server Configuration: user administrator account or any that we want

A.8. Database Engine Configuration: click "Add Current User"

A.9. Database Engine Configuration: Click to "Add..." if we want to add more accounts

A.10. Analysis Service Configuration: click "Add Current User"

A.11. Reporting Service Configuration: choose "Install the SharePoint integrated mode default configuration."

A.12. After finish the installation we can see the Report Server Web Service URL like

A.13. If click on the Report Server Web Service URL then we logon by administrator account

A.14. We see "Reporting Service Error" because we not yet setup SharePoint Foundation 2010 and configure with the Reporting Service

B. Configure SharePoint (Farm) with Reporting Service
B.1. Install software prerequisites

B.2. Install SharePoint Foundation

B.3. License Terms and click "Continue"

B.4. Click on "Server Farm"

B.5. Choose "Complete - Install all components. Can add servers to form a SharePoint farm."


B.20. View Web Services URL of Reporting Service on browser


B.22. Reporting Services Integration Summary


B.25. Click on "Insert"

B.26. Click on "Web Part"

B.27. Click on "SQL Server Reporting"

B.28. Click on "Add" to add the SQl Server Reporting web part to the page

B.29. Now we can see "Report Viewer" inside SharePoint page
B.30. Click on "Page" then Click on "Save & Close" to keep the changing to page

C. Making a report so can be run on SharePoint 2010
C.1. Download AdventureWorks2008 SR4.exe sample database from http://msftdbprodsamples.codeplex.com/releases/view/37109 then setup it

C.2. Open SQL Server Business Intelligence Development Studio from Start -> "All Programs" -> "Microsoft SQL Server 2008 R2"

C.3. File -> New -> Project...

C.4. Create new Report Server project

C.5. Right click on "Share Data Sources" then click "Add New Data Source"

C.6. Click "Edit" to edit data source

C.7. Select "Server name:" and "database name:" can be choose any server name or database name that you want or can be access to


C.9. Add New Report


C.11. Click Next after select Data Source

C.12. Click "Query Builder..."


C.21. View code of report CustomerInfor

C.22. Old Data Source reference code

C.23. Change DataSources reference values

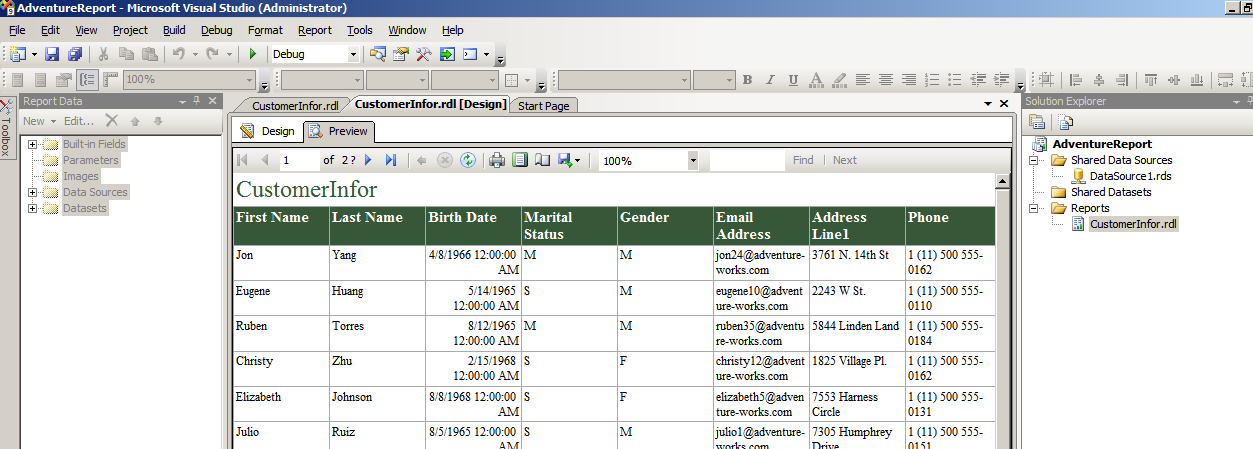
C.24. Back to preview report after change DataSources by code
C.25. Back to a web application the click on "Shared Documents"

C.26. Click "+Add document"

C.27. Click on "Browse..."

C.28. Select CustomerInfor report

C.29.Click "OK" to add CustomerInfor report file

C.30. Click on "Home" to back to home page

C.31. Edit Web Part

C.32. Click on button "..." to add report file

C.33. Click on "Up"

C. 34. Click on "Shared Documents"

C.35. Click on "CustomerInfor" and click on "OK"

C.36. Click on "Apply"

C.37. Click on "OK"

C.38. The report CustomerInfor display well on page

C. 39. If you want to display more nice so go to tool part again and change the width of Report Viewer

C.40. The Report Viewer is more nice now

God bless us!
No comments:
Post a Comment